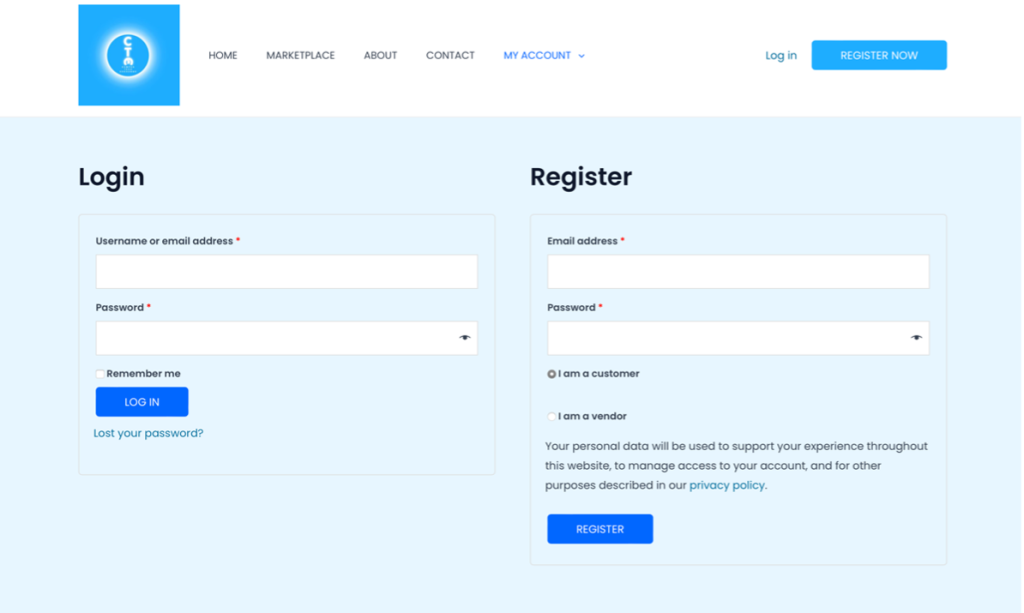
2) Fill in your details accurately, especially your email, name, and cell phone number as this will be used for you/your store to receive payments.
2.1) Shop name – Fill the name of your unique store ie “Your name’s store”.
2.2) Shop URL – After filling in the name of your unique store, this will refresh automatically and create one for you.

For example:

3) From your dashboard, Click settings, and then Store. Here you can edit your profile picture and store banner, and will be required to fill in your address as well.
3.1) Map –Please select the place at which Exchange can take place, as this will allow for them to be visible to people nearby.
3.2) Enable live chat – Make sure to tick this box at the bottom of the page before you update settings, in order to allow our built in chat feature to work. This is mandatory.


4) Select Add Payment Method, and select TradeSafe.
4.1) Fill in all details accurately to be able to receive payments for your store. If any details are incorrect, you will be unable to receive automatic payments. All details are MANDATORY. Your name, surname and email should be auto filled in. These details should remain consistent throughout your account setup.
4.2) FOR PAYMENT RELEASE FREQUENCY – Ensure “Bank Account Immediate” is selected. This will ensure that your due amounts are paid directly into the bank account you filled in for above.


To have your store verified, which can improve sales, upload 2 of the required documents to begin the process. We will get back to you as soon as possible with any comments, or the outcome of your application.
Your account is now setup and complete. Add products to start selling. These will first be verified by CampusTechExchange to ensure they are within our guidelines, and once approved they will be on the marketplace for sale.